
 Actually, it’s none of the three if it’s a store bought mix. After you follow and hopefully tweak, my recipe for hot chocolate (which I’ll show you how to turn to pudding), you’ll never use a mix again.
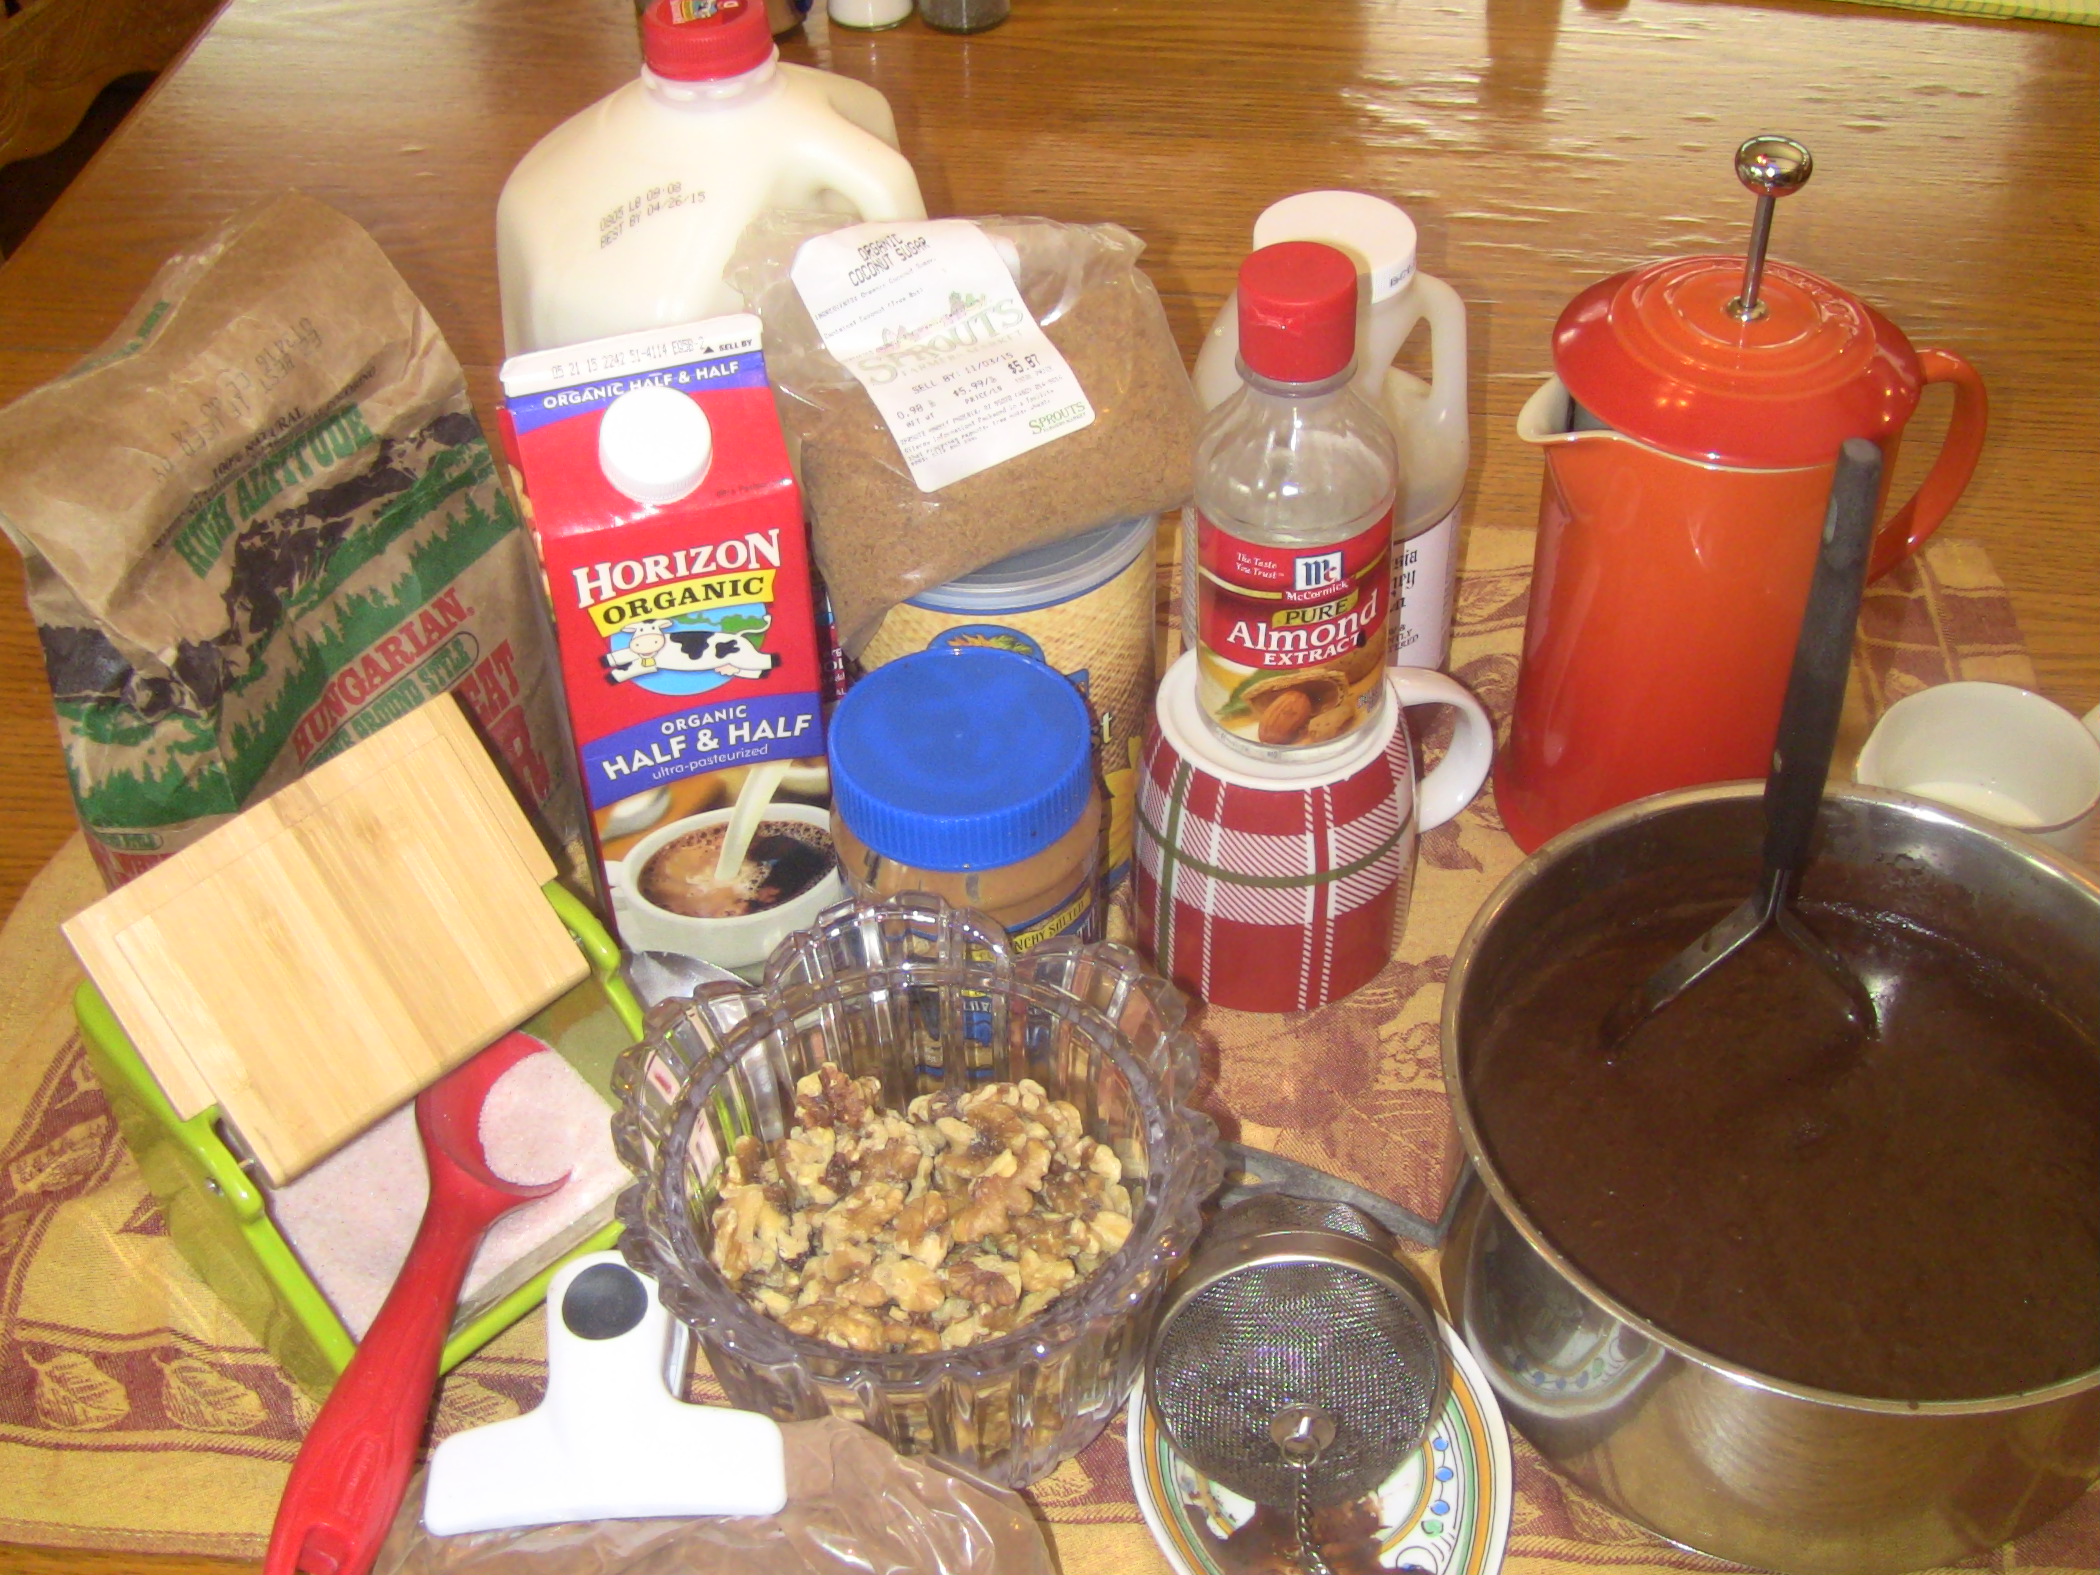
You begin with 1/2 to 3/4 cup unsweetened cocoa in a sauce pan (amount depends on how dark you like it). Hershey’s is fine, but I prefer bulk cocoa from Sprouts. Stir in about half as much sugar (if 1/2 cup of cocoa, then 1/4 cup of sugar). I use organic evaporated cane juice and/or organic coconut sugar. Next add about 1 scant teaspoon of sea salt (or a little less if you’re using regular salt) and stir all together.
Stir in any workable (depends on what’s on hand) combination of milk, cream, half-n-half, evaporated milk, or even powdered milk. I recommend about 4 cups of whole milk, one cup of half-n-half, and a half cup of heavy whipping cream. You can double this without any complaints by using water to stretch the recipe, even half whole milk and half water makes a delicious outcome. You can also hold the whipping cream and have it on top (recipe following near the end of the post).
As the cocoa tends to adhere to itself, and be a bit mix-resistant, I find the pictured potato masher works well to solve this problem.
On medium heat, heat to steaming, stirring frequently, then taste test for sweetness and chocolatey-ness. I like mine a little bitter, but still at this point I add about 1/4 to 1/2 cup of honey. Note: you can make this with white sugar (not as healthy) or sweeten entirely with honey. Just take it slowly with honey, as it’s easy to get too much.
Tip: butter or oil in your measuring cup will cause the honey to slide right out, or you can just eyeball it and pour it right out of the honey jug.
Now it’s time to add your choice of either vanilla (homemade is best-see the net for ideas/recipes) or almond flavoring.
Now taste test again. If it seems to be lacking, you might try coffee, orange flavoring, nutmeg, cinnamon, or some combination thereof. For coffee flavoring you can simply stir in a little Taster’s Choice instant, or, as I show in the picture, put some regular ground (I use about a tablespoon) in a tea ball and let it steep a bit. This is really delicious!
Note: A fine mesh tea strainer for your coffee infusion gives a better result than does the pictured tea ball, as it eliminates most of the coffee dregs.
AND NOW AND YAY FOR PUDDING!
Per my kids’ request, I turned the above into pudding by simply:
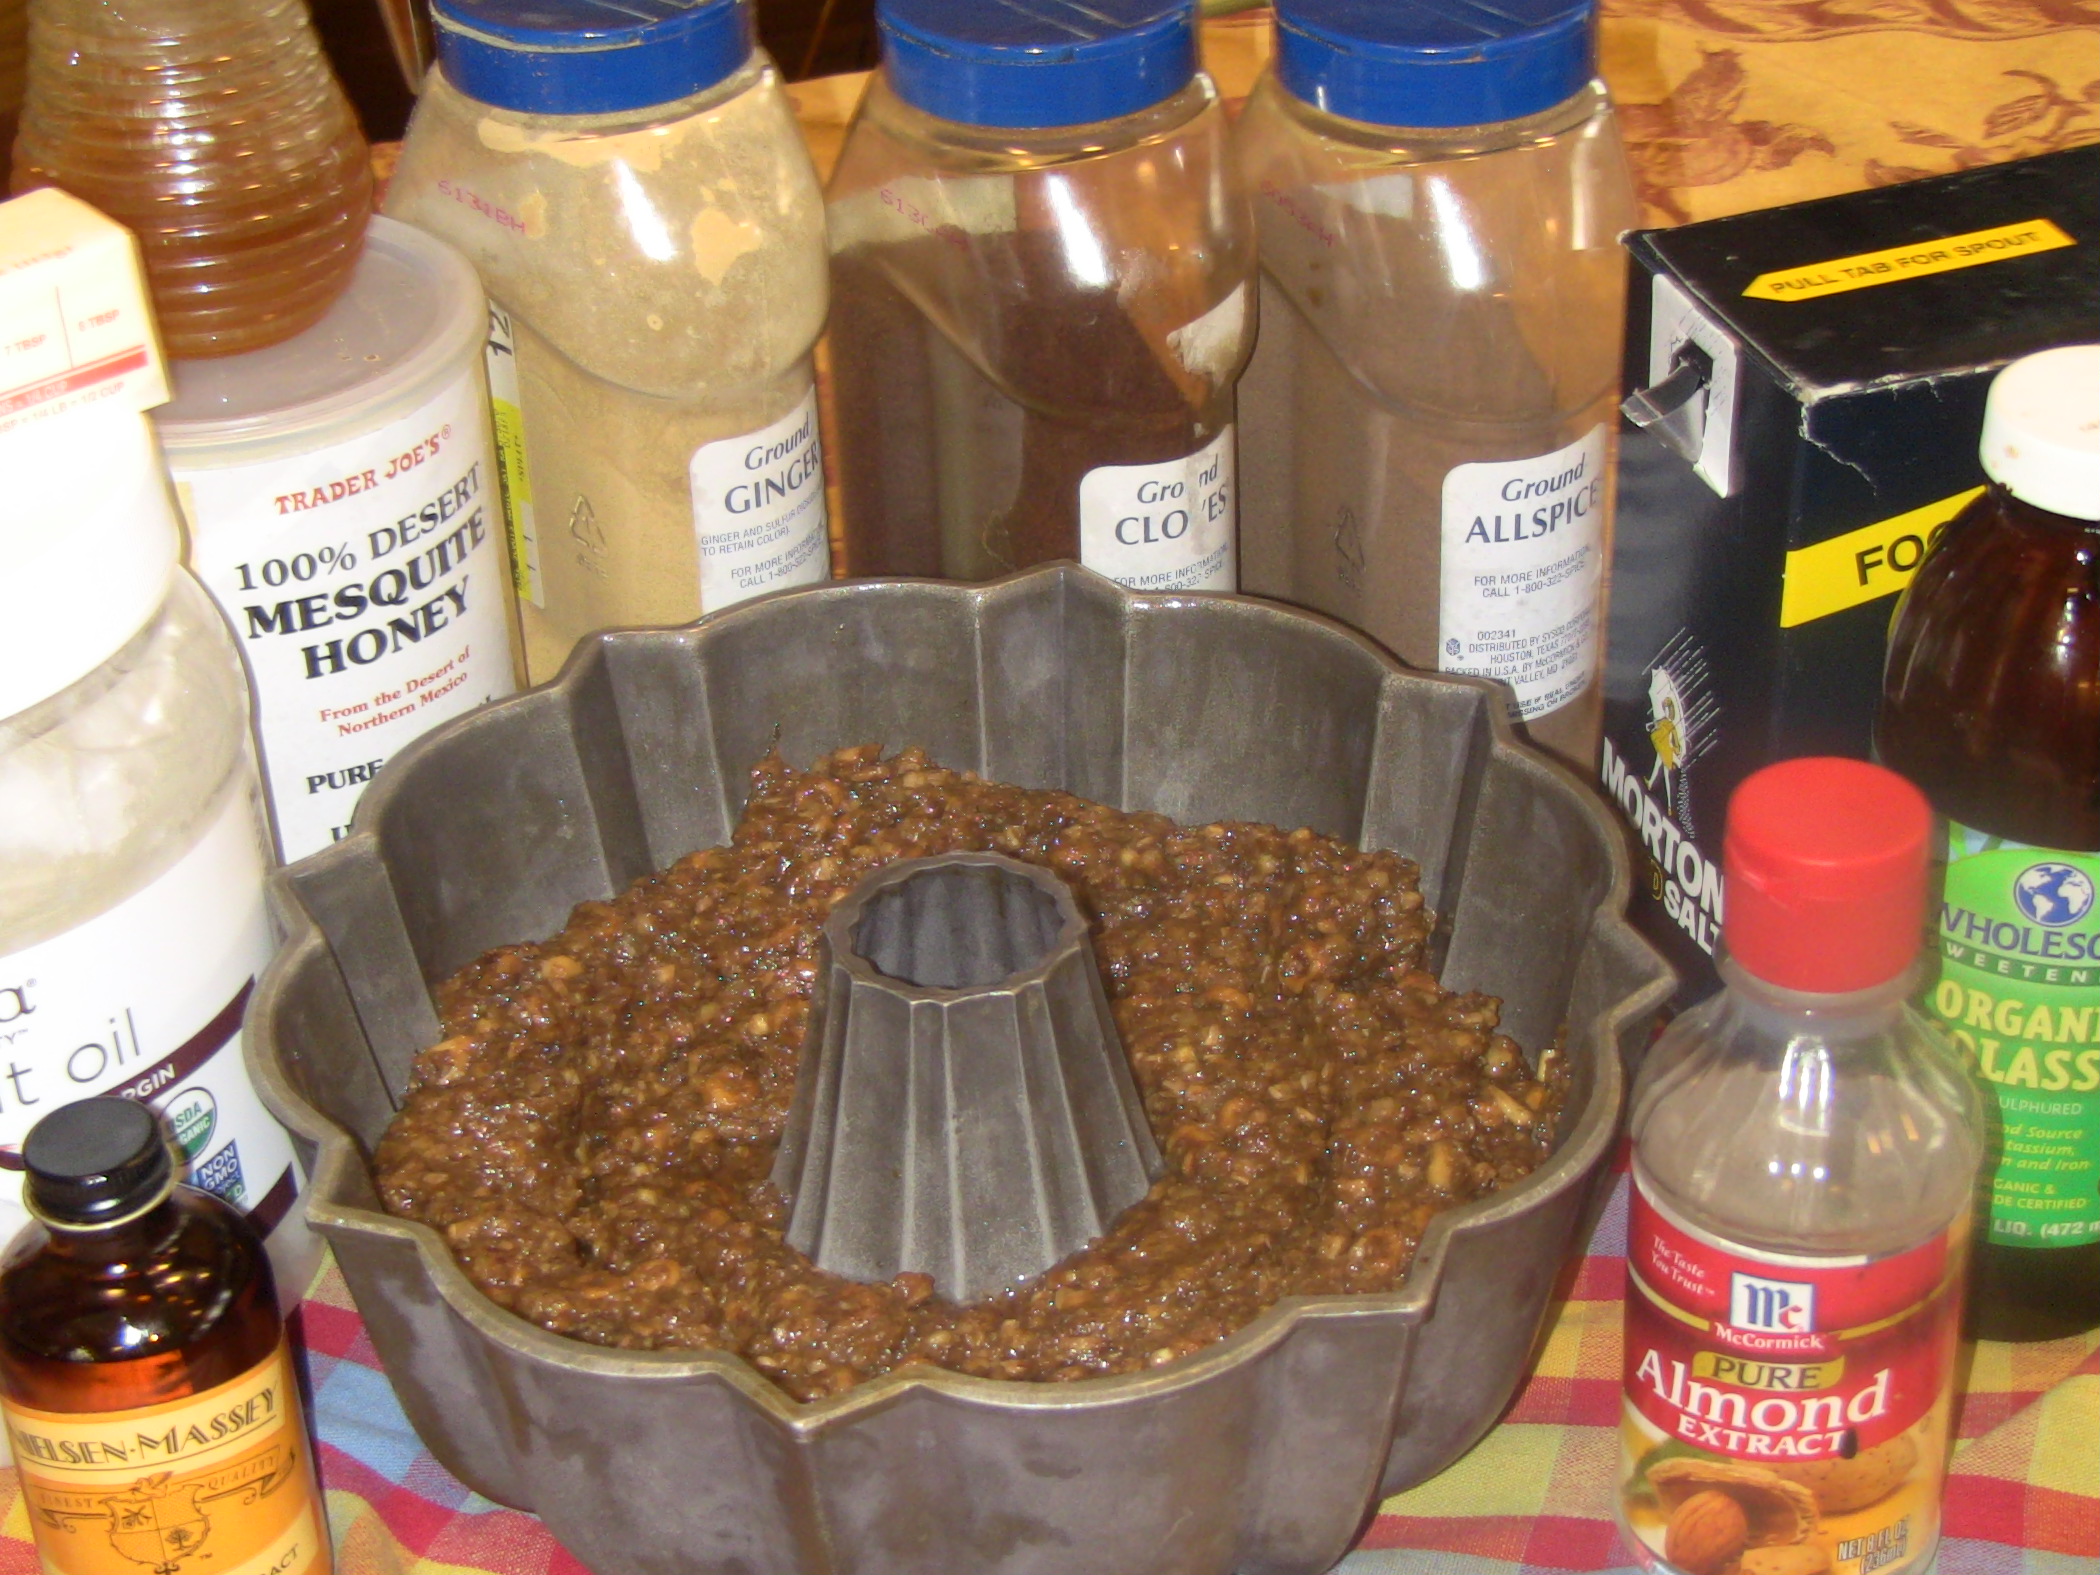
Adding butter and peanut butter and coconut and walnuts: a tablespoon of butter, 1/4 cup of peanut butter, 1/2 cup of organic unsweetened flake coconut, chopped walnuts on top upon serving;
Then . . . thicken by simply sprinkling organic whole wheat flour over the top and stirring it in. Since I don’t measure and got a bit too much, I added more milk. How much flour did I use? About 4 tablespoons I think.
However, start slowly as your flour, especially if it’s white flour, will thicken differently than did mine. Also, if you’re using cornstarch, just follow the directions on the box which will tell you the ratios between corn starch and flour.
I have stopped using cornstarch for two reasons: first, I was out of it and found out by accident that I liked the taste of whole wheat flour, and that it didn’t tend to lump as does cornstarch at times; second, I am leery of corn products which don’t staunchly proclaim their non-GMO status.
So, back to your pudding. Stir almost constantly to avoid sticking and scorching–a very disappointing outcome–and let it boil and bubble a bit to cook your thickener.
Now for taste testing, at which time other humans will miraculously appear: If it doesn’t really thrill the taster(s), try more vanilla or almond flavoring. Or perhaps orange (I like this VERY much, my family not so much). Or maybe any combination. You can take a bit out for yourself and be your own guinea pig before flavoring the entire batch.
Also, if you have stick-tending cookware, just create a makeshift double boiler by tucking your pan into a larger pan, with water in the bottom pan.
Now for some really good news: Eat this pudding in beautiful bowls with perhaps an English Digestive or some ripe strawberries and you’ve got a meal. No kidding.

I have also used the leftover pudding or hot chocolate (make sure you keep a bit back) to wake up the child of the day. What is the child of the day? That’s for another post.
One last thought: Leave the cocoa out entirely, for a lovely orange vanilla pudding, or, and this is one of my very favorites, use crushed pineapple and vanilla for your flavorings, and put toasted pecans on top. Oh my!
The bottom line is that pudding is lovely and brilliant and you should go make some.
AND NOW FOR THE WHIPPED CREAM!!!
Put your bowl and mixing beaters in the freezer and your heavy whipping cream in the back of the fridge (where it’s coldest) for at least 15 minutes.
Add a tablespoon or two of sweetener (your choice) and a bit of salt to your whipping cream (and flavoring if that sounds good to you–vanilla almost always works) and just mix away until peaks form. They don’t have to be stiff as there is reportedly such a thing as whipping the cream too long and causing it to begin softening.
If you like, you can forget the pudding or hot chocolate and can make whipped cream all by itself for dessert. Simply serve it with a bit of nutmeg on top, and perhaps a pecan, or some berries, or all by its own marvelous self. People will love it! Everyone wants all the whipped cream they can get.
Homemade whipped cream is also, in my opinion, much better with cake or brownies, than is vanilla ice cream. I know most people disagree, but you can tuck that thought away and try it some time.
We make domino, card, and board games enticing, and being snowed in during late May palatable, simply by adding hot chocolate or pudding to the evening.
Would a skinny hot chocolate packet or a pudding mix do the same thing? Not even close.


You must be logged in to post a comment.